

How To Repair Wooden Door
Have you noticed hairline cracks on your door? Humidity and temperature fluctuations cause wood to expand and contract, leaving splits on the surface of the door.
If you lot fix a cracked door early, you tin can foreclose the splits from growing into huge crevices, which would otherwise compromise the door's energy-efficiency. With a few cheap tools and materials, the job should be done in a few hours.
Tools
You will need the post-obit tools and materials:
- Putty knife
- Dremel tool
Materials
- Woods putty or filler
- Epoxy sealer and adhesive
- Wood spline
- Sandpaper
Step-by-Footstep Guide on How To Fix A Cracked Door
Follow these simple steps to repair cracks on a solid door.
Step ane. Choose between forest putty and filler
Both wood putty and filler can help to repair door cracks only in that location are slight differences between the two materials.
- Putty is flexible and does non dry hard. This is a good option if you exercise not plan to sand, stain, or paint your door.
- Opt for filler if your door is already painted and volition, therefore, demand to be repainted after fixing the cracks. Different putty, filler dries hard and can be sanded.
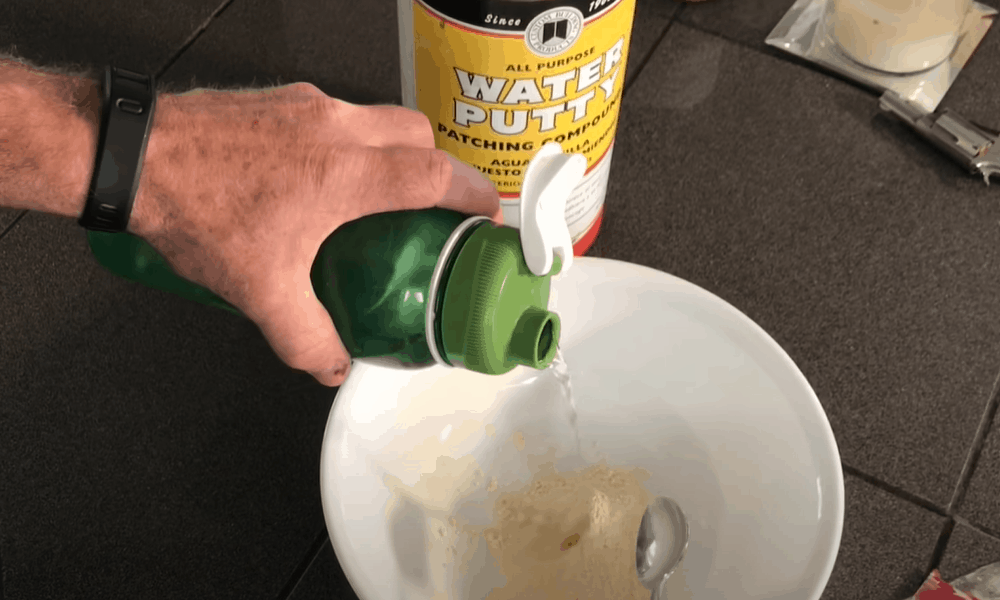
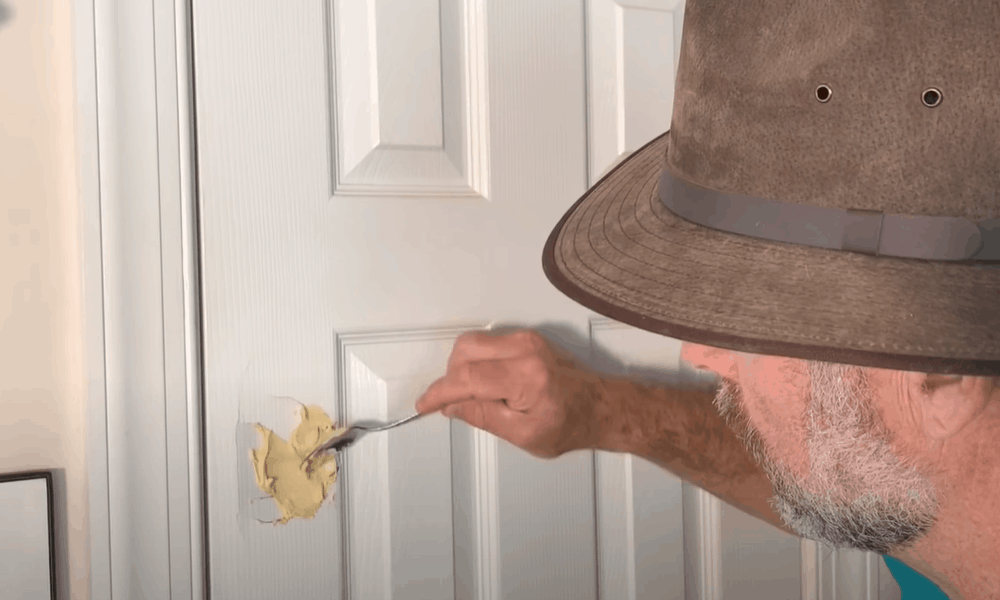
Step 2. Apply filler onto the crevice
Forest filler offers a longer-lasting solution for dealing with door cracks. For the best results, be sure to cull expert quality filler.
- Use a putty pocketknife to make full the crack with a small corporeality of woods filler. Exercise this for all the cracks on the door. Add together more filler equally needed to embrace the entire fissure.
Step 3. Allow adequate drying time
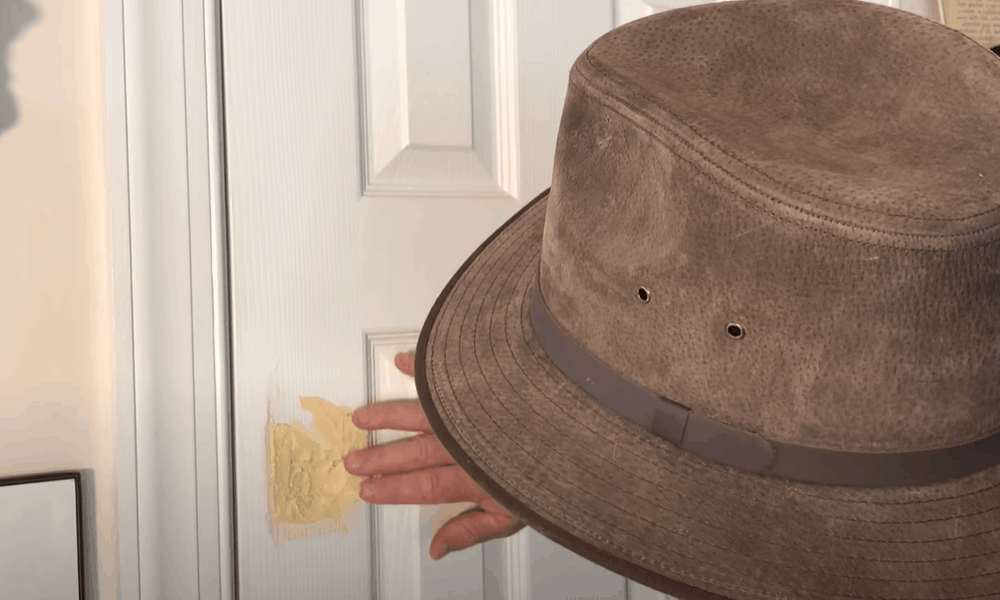
- Scrape off excessive filler. The surface doesn't accept to be even—you volition sand information technology after.
- Give the filler enough time to dry. Good quality filler typically has a shorter drying time.
Pro Tip: Apply a blow dryer to direct hot air onto the filled-in fissure for the filler to dry faster.
Step 4. Sand the surface
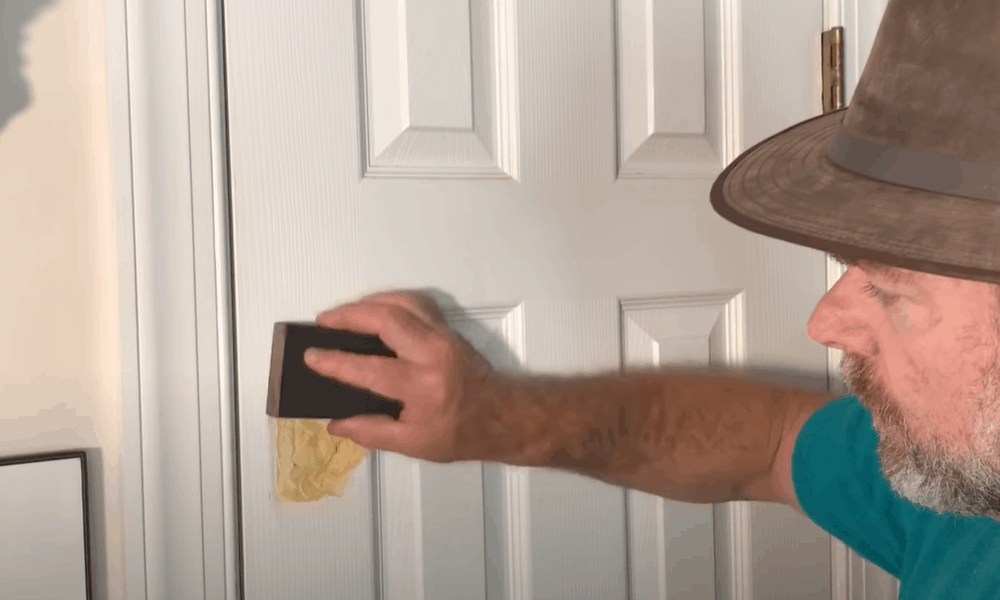
For a shine stop, you lot will need to sand the surface where y'all applied the filler.
- Use gentle strokes to sand the target area using medium dust sandpaper (60-100 grit) until the surface is even.
- For a longer-lasting fill, reapply the filler and let it to dry out before sanding the surface again. Always use gentle strokes to avert scratching the paint too much or causing dings on the door.
Footstep five. Pigment the surface
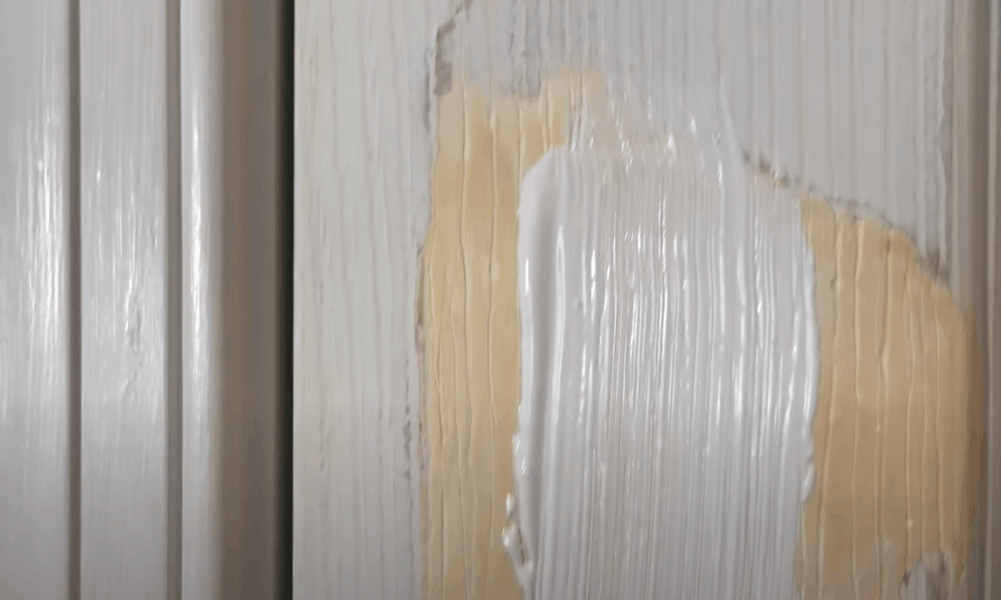
- Select a similar tone of paint to use to the sanded expanse.
- Exist sure to employ the correct painting technique to avoid leaving paintbrush marks on the door. If possible, pigment using a roller with a velour embrace instead of using a paintbrush. Rollers offer a more finished look compared to paintbrushes. That being said, a paintbrush is easier to use if you are painting the grooves of a paneled door.
- Allow the paint to dry.
Step 6. Use epoxy glue for medium-sized cracks
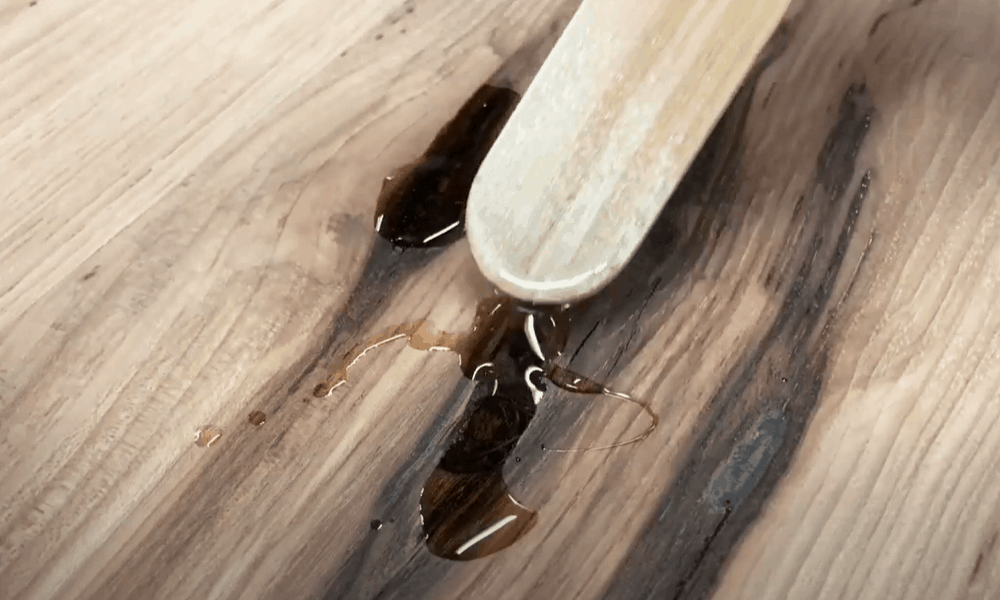
If you are dealing with a medium-sized crack, wood filler or putty will non fix the damage. Opt for a stronger compound such every bit an epoxy adhesive.
- First, fill in the crack with epoxy sealer. The sealer helps the adhesive to adhere.
- Next, clasp a dewdrop of epoxy adhesive into the crevice. The mucilage will expand and fill up the crack. Therefore, a little does go a long way.
- Permit the gum dry out and then apply a terminal coat of sealer. Allow the sealer to dry.
- Use fine sandpaper (120-220 grit) to vitrify the surface. Paint or apply stain to the surface as needed.
Footstep seven. Fix large cracks using forest splines
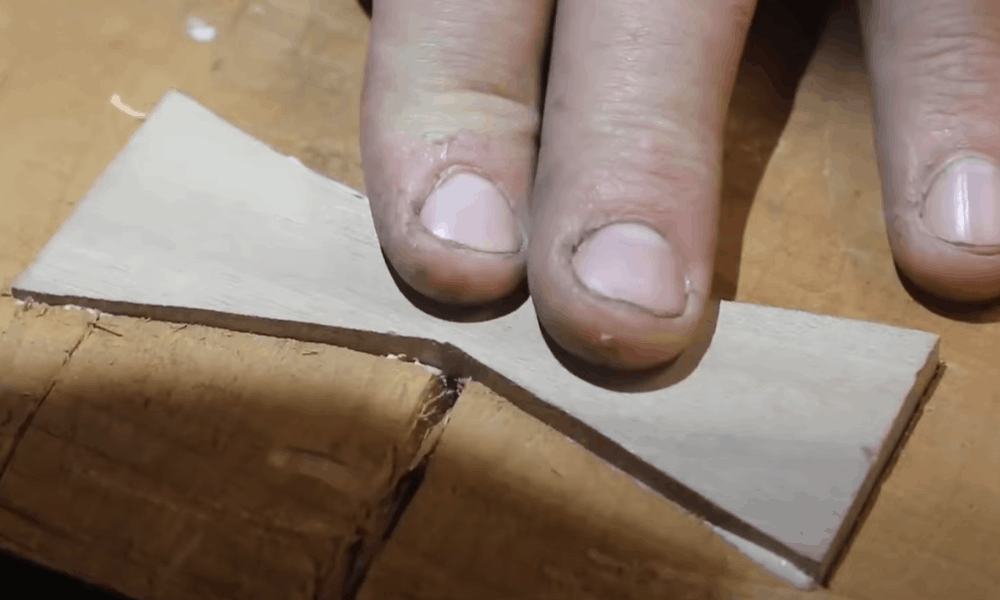
To fix large splits on the door, you will demand more than just glue or filler. Inserting a wood spline into the split offers the most lasting solution.
- Utilise a Dremel tool to clean and create space in the split so that the wood spline fits snugly.
- And so, insert the spline into the separate to test for size. Adjust the size of the spline until it fits tightly in the cleft.
- Remove the spline and make full in the crack with loftier-quality wood gum. Insert the spline into the crack. Use a safe mallet to gently push the spline deep into the crevice.
- Chisel off the protruding edges so that the spline is flush with the door. Permit the glue to dry before sanding the area.
- Pigment or stain the door equally needed.
That's is all there is to prepare a cracked door. Your door should now look as good equally new.
Extended Tips
Below are additional tips to aid you go the nearly from this project.
- Prep your piece of work area
Because this projection involves sanding and painting, be sure to protect your floors with a grit cloth. You exercise not want filler, paint, or wood chaffing to ruin your flooring or carpet.
- Clean the door
Earlier getting started, wipe the door to rid it of dust. Filler, putty, and even glue volition non adhere well to a dusty surface. Be sure to wipe the door after sanding and before painting or staining.
- Use putty for stained doors
To fix hairline cracks on a painted door, it is best to apply wood putty, as you won't have to sand the surface. Simply fill up cracks with a minor amount of putty, wipe off any excess, and you are practiced to get.
- Replace croaky plywood
Some interior doors are made of thin sheets of plywood, which is prone to cracking. In some cases, applying filler or putty will not permanently solve the cracking problem.
If new cracks appear or the old ones keep opening, consider replacing the entire sail of plywood. Removing the old plywood should be easy given that the sheet is attached to the doorframe by a bead of gum.
Summary
Door cracks are common and are commonly an easy DIY fix. Withal, small hairline fissures can quickly become gapping splits that require more work and in some cases replacing the entire door. Proper care and regular maintenance of your doors volition foreclose costly repairs.
Practise you take a cracked door in need of repair? Leave your comments and questions below—we'd dear to hear from you!
Source: https://www.wcmanet.org/how-to-repair-a-cracked-door/
0 Response to "How To Repair Wooden Door"
Post a Comment